Water in the boat engine oil can be a frustrating and concerning issue for boat owners.
It is not uncommon to find water in the engine oil, especially in boats that are not used frequently or are stored in damp environments.
Water in the engine oil can cause significant damage to the engine and other components if not addressed promptly.
Boat owners must take immediate action when they discover water in their boat’s engine oil. The first step is to determine the source of the water and how it got into the engine oil.
This can be done by checking for leaks in the engine, inspecting the cooling system, and checking the oil cooler.
Once the source of the water is identified, boat owners can take appropriate measures to prevent further damage and repair the engine.
Identifying Water in Boat Engine Oil

Water in boat engine oil can cause severe damage to your boat’s engine if not detected and addressed promptly. Therefore, it is essential to know how to identify water in boat engine oil. Here are some ways to identify water in boat engine oil.
Visual Inspection of the Oil
A visual inspection of the oil can help you identify water contamination in the engine oil. If water is present in the oil, it will appear milky or cloudy. Milky oil is a clear sign of water contamination in the engine oil. If you notice milky oil, it is essential to take prompt action to prevent further damage to the engine.
Using a Dipstick for Water Detection
Using a dipstick is another way to identify water contamination in the engine oil. Dip the dipstick into the oil and check the oil level. If the oil level is above the full mark, it may indicate water contamination in the engine oil. You can also wipe the dipstick with a clean cloth and check for water droplets. If you notice water droplets, it is a clear sign of water contamination in the engine oil.
Understanding the Signs of Water Contamination
Water contamination in the engine oil can cause several signs that can be easily identified. If you notice steam coming from the engine, it may indicate water contamination in the engine oil. You may also notice a decrease in engine performance or a knocking sound from the engine. These signs are clear indications of water contamination in the engine oil.
Common Causes of Water in Engine Oil

Water in boat engine oil can cause serious damage to the engine if left unaddressed. There are several reasons why water can get into the engine oil, which can range from minor to severe issues. Here are some of the most common causes of water in engine oil:
Failed Head Gasket
A failed head gasket can allow coolant to leak into the engine oil. The head gasket is a critical component that seals the engine block and cylinder head. When the head gasket fails, coolant can leak into the combustion chamber, causing white smoke to come out of the exhaust. In addition, coolant can also leak into the engine oil, causing the oil to become milky and lose its lubricating properties.
Cracked Engine Block
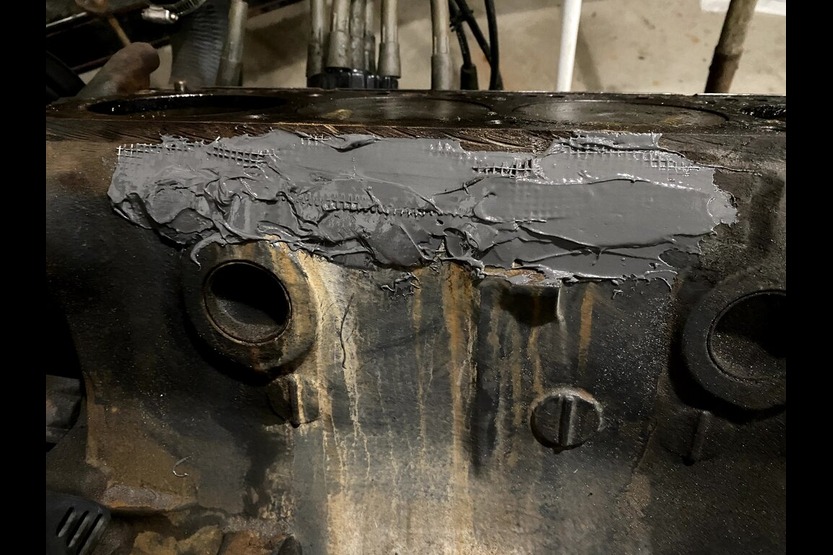
A cracked engine block can also allow coolant to leak into the engine oil. A cracked engine block is a serious issue that requires immediate attention. The engine block is the main structure of the engine, and any damage to it can cause the engine to fail completely. If there is a crack in the engine block, coolant can leak into the engine oil, causing the oil to become contaminated with water.
Faulty Oil Cooler
The oil cooler is responsible for cooling the engine oil. If the oil cooler fails, it can allow coolant to leak into the engine oil. The oil cooler is typically located near the oil filter and is connected to the engine’s cooling system. If the oil cooler fails, coolant can mix with the engine oil, causing the oil to become contaminated with water.
In addition to these major causes, there are other factors that can contribute to water in engine oil, such as coolant leaks and water intrusion. It is important to address any issues with the engine as soon as possible to prevent further damage.
If you notice milky engine oil or any other signs of water in the engine oil, it is recommended to have the engine inspected by a professional mechanic to determine the cause of the problem.
Assessing and Repairing the Damage
When water gets into a boat’s engine oil, it can cause severe damage if left unaddressed. The following subsections detail the steps to take to assess and repair the damage caused by water in the boat’s engine oil.
Conducting a Compression Test
One of the first steps to take when dealing with water in the engine oil is to conduct a compression test. A compression test is used to determine the engine’s overall health and identify any issues that may be present.
This test is done by removing the spark plugs, screwing a compression gauge into the spark plug hole, and cranking the engine. The gauge measures the pressure in each cylinder, and if there is a significant difference between the cylinders, it could indicate a problem.
Inspecting the Cooling System
The cooling system is another crucial component to inspect when dealing with water in the engine oil. The cooling system is responsible for regulating the engine’s temperature and preventing it from overheating. If the cooling system is not working correctly, it can cause the engine to overheat, leading to significant damage.
Inspecting the cooling system involves checking the hoses, clamps, and fittings for any leaks or damage. It is also essential to check the water pump and thermostat to ensure they are functioning correctly.
Professional Engine Inspection
If the compression test and cooling system inspection do not reveal any issues, it may be necessary to have a professional engine inspection. A professional inspection involves a thorough examination of the engine by a qualified mechanic. The mechanic will inspect the engine for any signs of damage, such as cracks or corrosion.
Preventive Measures and Maintenance

To prevent water from entering the boat’s engine oil, regular maintenance and preventive measures should be taken. This section will cover some essential steps that boat owners should take to keep their engines in good condition.
Regular Oil and Filter Changes
Regular oil and filter changes are necessary to keep the engine running smoothly. Boat owners should follow the manufacturer’s recommended oil change schedule and use the recommended oil and filter types. It is essential to change the oil and filter after every 100 hours of operation or at least once a year, whichever comes first.
Maintaining the Cooling System
The cooling system is crucial to prevent the engine from overheating. Boat owners should regularly inspect the cooling system and ensure that it is functioning correctly. They should also check the coolant level and top it up if necessary. It is also essential to flush the cooling system regularly to remove any debris or salt buildup.
Using Proper Fuel Additives
Using proper fuel additives can help prevent water from entering the engine oil. Boat owners should use marine-grade, water-separating fuel additives to keep the fuel system clean and prevent water from entering the engine. They should also use fuel stabilizers to prevent fuel from breaking down and causing engine damage.
Boat owners should also ensure that the engine is operating at the proper temperature. Overheating can cause the engine to malfunction and lead to water entering the engine oil. They should also avoid operating the boat in rough waters, which can cause water to enter the engine through the exhaust system.
Procedures for Flushing Contaminated Oil

When water enters the boat engine oil, it is important to flush the contaminated oil as soon as possible to prevent further damage to the engine. Flushing the oil will help remove any water or moisture that has mixed with the oil, allowing the engine to run smoothly and efficiently. Here are the procedures for flushing contaminated oil:
Steps for Flushing Oil
- First, remove the oil fill cap and drain plug to allow the contaminated oil to drain out of the engine. Make sure to use a container to collect the oil and dispose of it properly.
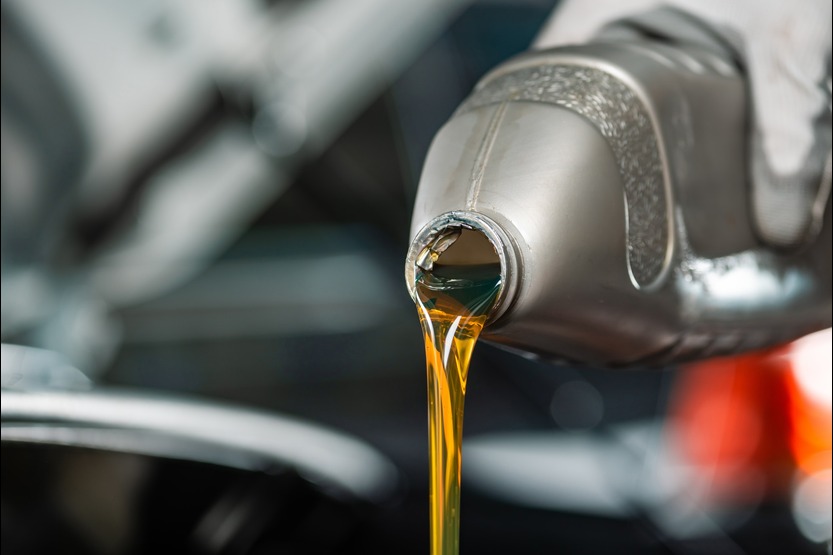
- Next, use a flushing oil to clean out the engine. Flushing oil is designed to remove any contaminants that may be present in the engine, including water, dirt, and debris. Pour the flushing oil into the engine using a funnel, and let the engine run for a few minutes to allow the flushing oil to circulate through the engine.
- After the engine has run for a few minutes, turn it off and let it cool down for a few minutes. Then, remove the drain plug and drain the flushing oil from the engine. Make sure to dispose of the flushing oil properly.
- Finally, refill the engine with fresh oil to the appropriate level. Make sure to use the correct type of oil for your engine, and check the oil level using the dipstick.
Replacing the Oil Filter
It is also important to replace the oil filter when flushing contaminated oil from the engine. The oil filter is designed to remove contaminants from the oil, and if it has been exposed to water or moisture, it may be compromised. Here are the steps for replacing the oil filter:
- Locate the oil filter on your engine. It is usually located near the oil pan or on the side of the engine.
- Using an oil filter wrench, loosen the oil filter and remove it from the engine. Make sure to use a container to catch any oil that may spill out.
- Install a new oil filter on the engine, making sure to tighten it securely. Check the manufacturer’s specifications for the correct torque setting.
Disposal of Contaminated Oil
When disposing of contaminated oil, it is important to follow proper disposal procedures to protect the environment. Here are the steps for disposing of contaminated oil:
- Collect the contaminated oil in a container that is specifically designed for oil disposal.
- Take the container to a certified oil recycling center or a hazardous waste disposal facility. Do not dispose of the oil in the trash or pour it down the drain.
By following these procedures for flushing contaminated oil, replacing the oil filter, and disposing of the contaminated oil properly, boat owners can help protect their engines and the environment.
Final Thoughts
In conclusion, discovering water or a milky-like substance in a boat’s engine oil can be a frustrating and potentially costly experience. However, with some investigation and quick action, major engine damage can still be prevented.
Regular maintenance is vital to avoid water in the engine. Boat owners should regularly inspect seals and gaskets and replace them if needed. Using marine-grade, water-separating fuel additives can also help prevent water from entering the engine.
If water is found in the engine oil, boat owners should diagnose the problem, identify the source, and take appropriate action. This may include replacing a bad head gasket or addressing a leaking intercooler.
It is important to note that neglecting water in the engine can lead to significant engine damage and costly repairs. Therefore, boat owners should take any signs of water in the engine oil seriously and take swift action to address the issue.
Overall, by staying vigilant and taking proactive steps to prevent and address water in the engine, boat owners can enjoy safe and worry-free boating experiences.


